How to Propagate Pothos Varieties from Stem Cuttings by 3 Easy Methods
Some links in this post may be affiliate links
Pothos are among the easiest houseplants to propagate, making them a favourite for beginners and collectors alike. Whether you want to fill out a sparse trailing vine, share cuttings with friends, or simply grow your collection for free, understanding the right propagation method for your specific variety can make all the difference between a thriving new plant and a failed cutting.
Propagating Pothos is cost-effective; one healthy mother plant can yield dozens of new plants over time. It is also a great way to rejuvenate leggy vines, preserve a rare variegated variety or rescue a struggling plant by rooting its healthiest stems.
The best time to propagate Pothos is during the growing season in spring to early summer, when the plant is in active growth for faster establishment of the new plants.
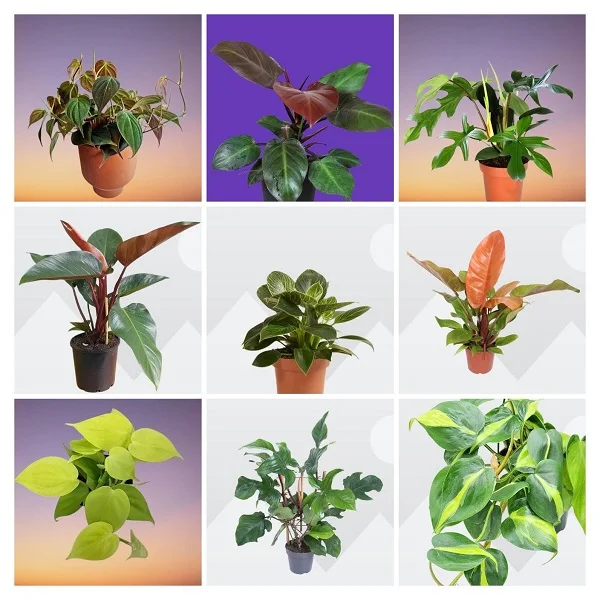
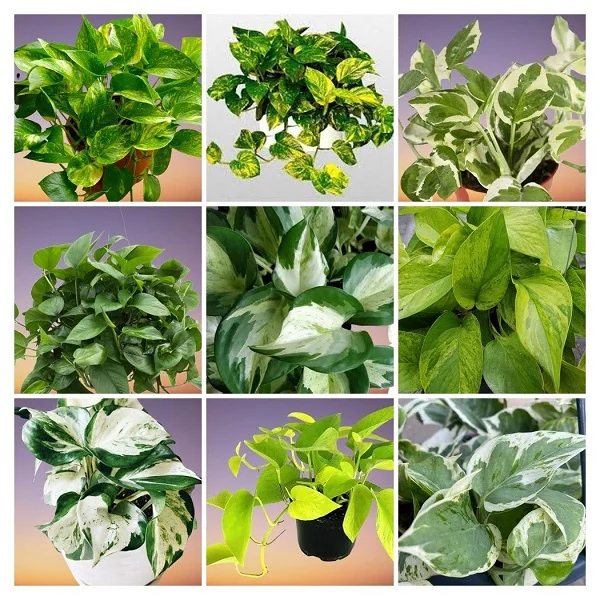
We have herebelow outlined 3 methods that works best for most popular Pothos Varieties like Golden, Manjula, Marble, Global Green, NJoy, Cebu Blue, Baltic Blue and others. By the end, you will know exactly how to increase your chances of successful Pothos propagation.
What are the 3 main Pothos propagation methods?
1. Water propagation: Place node cuttings in a jar of water. Roots form visibly in 2–4 weeks. Ideal for beginners and for monitoring progress.
2. Soil propagation: Plant cuttings directly into moist potting mix. Roots adapt to soil immediately, reducing transplant shock.
3. Sphagnum moss propagation: Nest cuttings in damp sphagnum moss for high humidity and excellent aeration. Preferred for rare or slow-rooting varieties.
1. Pothos Water Propagation Method
Pros: Beginner-friendly, easy to monitor root development (you can watch the roots develop in real time), low risk of soil-borne diseases.
Cons: Water roots are different from soil roots meaning there is an adjustment period after potting.
Requirements
- A healthy Pothos Plant with a strong stem
- Sharp, sterilized pruning shears or scissors
- A clean jar of water or a propagation station
- Small pots with a drainage hole
- Well-draining soil
How to propagate Pothos by stem cuttings in water
- Identify a healthy stem with at least one node (the small brown nub on the stem) where roots will emerge. Cut below the node, leaving about 2 inches of the stem.
- Strip off the lower leaves to expose the stem and leaf nodes. Leave one or two leaves above the waterline to support photosynthesis.
- Submerge 2-3 inches of stem in a jar of room-temperatue water or in a propagation station while ensuring at least one leaf node is below the water surface.
- Place the set up in a warm spot (18–240C) with bright, indirect light away from direct sunlight.
- Change the water every 5-7 days to prevent bacterial build-up. Roots will emerge in 2–4 weeks.
- When the roots are about 2-3 inches long, transfer the rooted cutting into individual pots in moist, well-draining Pothos potting mix.
- Position the new plants in bright indirect light to prevent scorching.
- Maintain the soil moist until new growth emerges on the new plant.
- Allow the new plant to be well established before moving the pots to their permanent position after which you can begin routine.
2. Pothos Soil Propagation Method
Pros: It produces stronger, more established root systems, therefore no transplanting shock as it mirrors the natural growing conditions.
Cons: Root development is not visible, slightly higher risk of rot if the medium stays too wet.
Requirements
- A healthy plant with a strong stem
- Sharp, sterilized pruning shears or scissors
- Small pots with a drainage hole
- Well-draining soil
- Rooting hormone to speed up rooting
- A plastic bag or humidity dome
How to propagate Pothos by stem cuttings in soil
- Take a cutting with at least one node minimum, preferably 2 or 3 for a bushier result. Cut below the node, leaving about 2 inches of stem.
- Strip off the lower leaves to expose the leaf nodes as this is where roots will emerge from.
- Coat the leaf node and the stem of the cutting with a rooting hormone to hasten rooting.
- Prepare a small pot with a lightweight, well-draining propagation mix; a blend of perlite, coco coir, and a small amount of potting mix is ideal. Slightly moisten the mix.
- Make a small hole in the soil with a pencil or chopstick and insert 2-3 inches of the cutting, pressing soil gently around the node.
- Cover the set up with a clear plastic bag or humidity dome to retain moisture. Remove the cover for an hour daily to allow airflow to prevent mould.
- Position the set up in a warm, well-lit place away from direct sunlight to avoid cooking the cuttings.
- Keep the soil moist until new growth emerges. Check for roots after 3-5 weeks by gently tugging the stem, resistance means roots have formed.
- Allow the new plant to be well established before transplanting it into a pot one size larger after which you can begin routine care.
3. Pothos Sphagnum Moss Propagation Method
Pros: Preferred for rare or slow-rooting varieties.
Cons: It requires sphagnum moss and patience.
What you need
- A healthy plant with a strong stem
- Sharp, sterilized pruning shears or scissors
- Sphagnum moss
- Small pots with a drainage hole
- Well-draining soil
How to propagate Pothos in sphagnum moss
- Take a cutting with at least one leaf node. Cut below the node, leaving 2-3 inches of stem.
- Dampen the sphagnum moss until evenly moist but not dripping. Squeeze out excess water.
- Wrap the leaf node of the cutting snugly in a small clump of moss or fill a clear plastic cup with moss and nestle the cutting inside.
- Place in a warm, bright spot. Mist every few days or moisten the moss when it begins to dry out.
- Once roots are 2-3 inches long, gently tease apart the moss and pot up into well-draining potting mix while avoiding roots disturbance as much as possible
- Position the new plant in a warm, brightly-lit place away from direct sunlight to avoid scorching.
- Keep the soil moist through out but not soggy soil.
- Once the new plant is well established, begin routine care.
Best propagation method by popular Pothos variety
| Variety | Best Method | Rooting Time | Notes |
|---|---|---|---|
| 1. Golden Pothos | Water | 2-3 weeks | Most forgiving variety; roots easily in water. Perfect for beginners |
| 2. Marble Queen | Sphagnum moss | 4-6 weeks | High variegation slows rooting. Moss retains humidity and promotes stronger roots. |
| 3. Neon Pothos | Water | 2-3 weeks | Vigorous grower; roots quickly in water. Transition to soil promptly to avoid weak roots. |
| 4. Pearls and Jade | Sphagnum moss | 5-7 weeks | Being a sport of Marble Queen; similarly slow to root. |
| 5. Njoy Pothos | Soil | 3-5 weeks | Small leaves adapt well to direct soil propagation. Maintains variegation better than water. |
| 6. Manjula Pothos | Sphagnum moss | 5-8 weeks | Heavily variegated and patented; roots slowly. Moss with a humidity dome is optimal. |
| 7. Cebu Blue | Water | 2-4 weeks | Roots readily in water. Can take longer in cooler temperatures, keep above 200C. |
| 8. Baltic Blue | Soil | 3-5 weeks | Soil propagation reduces transplant stress. Use a perlite-heavy mix for aeration. |
| 9. Global Green | Water | 2-4 weeks | Roots well in water. Transition carefully as roots can be brittle when moved to soil. |
| 10. Snow Queen | Sphagnum moss | 6-9 weeks | Near-white variegation means very slow rooting. Moss, warmth and humidity are essential. |
How to Care for newly propagated Pothos
Bright indirect light: Place cuttings away from direct sunshine (it causes wilting and leaf scorch) or deep shade (it slows rooting drastically).
Average warmth: Keep the cuttings in a warmth of 18-200C. A heat mat designed for plants can speed up rooting in cold climates.
High humidity: Maintain humidity at 60–70% to reduce water loss through transpiration and help cuttings stay turgid while they are developing roots. You may use a humidity dome, clear plastic bag or a humidifier.
Be patient: Slower-growing and variegated varieties may take 6-10 weeks to show significant root development. Resist the urge to keep checking, as disturbing the cutting stresses it unnecessarily.
What are Common Pothos propagation problems?
Cuttings not rooting: The most common cause is a missing or damaged node. Always confirm there is a visible node on your cutting before placing it in water or soil. Low temperatures (below 180C) also slow root development; move the cuttings to a warmer spot.
Roots forming but leaves yellowing: Yellow leaves during propagation often indicate excess moisture or insufficient light. Reduce watering frequency for soil cuttings and ensure the plant receives bright indirect light for several hours a day.
Rot in water propagation: Slimy stems indicate bacterial rot. Change water more frequently, trim the rotted section back to healthy tissue and restart in fresh water. In addition, using a clean container and removing submerged foliage prevents most rot issues.
Loss of variegation in propagated plants: Heavily variegated varieties like Marble Queen and Manjula may produce less variegated growth when propagated in water. This is because lower light and nutrients during rooting can suppress pigmentation. Propagating in soil or moss with good indirect light yields better variegation retention.
Frequently Asked Questions (FAQs)
1. Can you propagate Pothos from a leaf without a node?
No, a Pothos leaf alone without an attached node will not produce roots or a new plant. The node is the critical growth point from which both roots and new stems emerge. Always ensure your cutting has at least one node.
2. How many nodes should a Pothos cutting have?
A Pothos cutting with one node will root successfully, but 2 or 3 nodes will give you a bushier, more vigorous plant more quickly. Each node is a potential growth point, so more nodes means more stems emerging once the cutting is established.
3. Is water propagation or soil propagation better for Pothos?
Both methods work well for most varieties. Water propagation is more visual and beginner-friendly, but roots formed in water can be fragile and may take time to adjust to soil. Soil propagation produces roots already adapted to growing medium, reducing transplant shock. For highly variegated varieties, sphagnum moss is often the best choice.
4. Can I keep a Pothos cutting in water permanently?
Yes, Pothos can live indefinitely in water as a hydroponic plant. However, you will need to add a diluted liquid fertiliser (at about one-quarter of the recommended strength) every few weeks; plain water lacks the nutrients the plant needs for long-term growth. Change the water regularly and ensure the roots receive some light.
5. When should I transfer water-rooted Pothos to soil?
Transfer water-rooted cuttings to soil once roots are 2-3 inches long. Waiting too long makes the transition harder, as longer water roots are more fragile and take longer to adapt.
6. Does rooting hormone help with Pothos propagation?
Rooting hormone is not necessary for most Pothos varieties, as they root readily. However, it can be beneficial for slow-rooting, highly variegated varieties like Manjula or Snow Queen and for soil propagation where it encourages quicker root initiation and reduces the risk of the cutting wilting before roots form.
7. Why is my Pothos cutting not rooting after 4 weeks?
The most likely causes are a missing or damaged node, use of too cold water, insufficient light or bacterial rot. Check that the node is fully submerged in water propagation, move the cutting to a warmer spot (above 180C) and refresh the water. If the stem feels slimy, trim back to healthy tissue and start again.