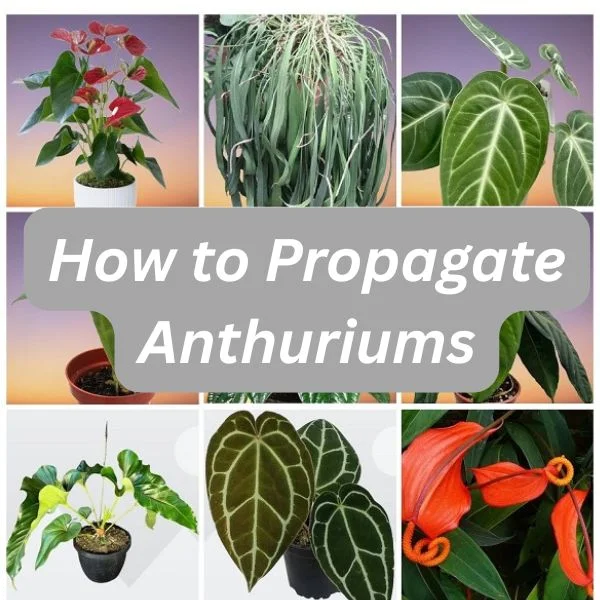
How to Propagate Anthurium Plants in 5 Easy Ways
Some links in this post may be affiliate links
Anthuriums are propagated by plant division, from stem cuttings and by germination of seeds. The stem cuttings can be rooted in soil or in water.
They are best propagated during the growing season (spring and summer). At this time, the plant is actively growing, which hastens growth of new roots. Propagating in fall or winter is not recommended as the plant’s growth slows down, making root formation much more difficult.
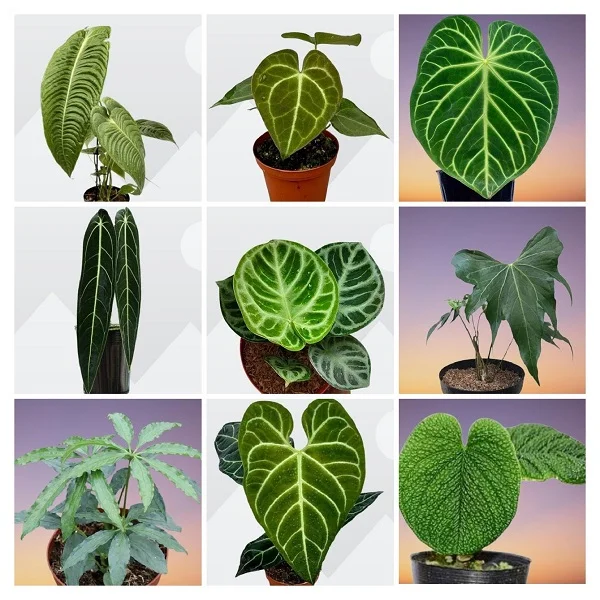
Many Anthurium varieties are popular plants for indoors on account of their ability to adapt to a wide range of growing conditions. A few Anthuriums are grown for their beautiful and striking flowers but most are grown for their spectacular foliage.
Each Anthurium propagation method has its merits and demerits but with the right care, you can successfully grow new healthy Anthurium plants. In this guide, we discuss these methods and how you can easily propagate new plants.
(A) Propagating Anthuriums by Plant Division
Difficulty: This is the easiest and most beginner-friendly method
Best for: Mature plants with multiple stems (clumping varieties)
Time to Root: 2-3 weeks
Suitable Anthurium Varieties
- Anthurium andraeanum (Laceleaf Anthurium): Known for its bright red, pink, or white spathes
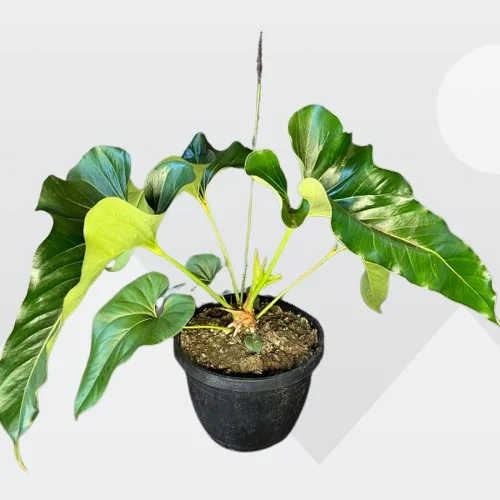
- Anthurium scherzerianum (Pigtail Anthurium): Recognizable by its twisted spadix and waxy flowers
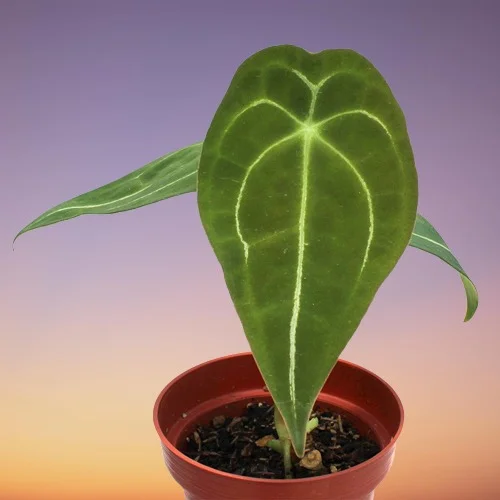
- Anthurium clarinervium: Popular for its large, velvety, dark green leaves with striking white veins
Gather your supplies
- A healthy, mature Anthurium plant
- Sharp, sterilized pruning shears or scissors
- Small pots with a drainage hole
- Well-draining soil
1. Anthuriums Propagation by Plant Division
- Thoroughly water the plant at least 1 day before to make it easier to divide and also hasten establishment; a well hydrated plant suffers less shock and takes a shorter time to take root.
- Slip the plant out of its pot, wash or shake off excess soil, locate natural divisions where the plant has multiple stems.
- With clean pair of scissors, carefully cut apart sections with roots and leaves or pull apart the roots to divide the plant into sections. Ensure each section has adequate roots to hasten establishment.
- Select a 6 or 8 inches pot and ensure that the pot has a drainage hole to prevent the soil from getting soggy as it can lead to rotting.
- Fill the pot with loose, free-draining potting mix and make a hole in the center of the pot. Ensure that the hole is slightly wider than the root base of the section.
- Place the section in the previously made hole and lightly firm the soil around the base while taking care not to bury it too deep; maintain the section at the same soil level it was in the previous pot.
- Water the soil thoroughly and place the set up under bright indirect light in a warm place until the new plant is well established after which you can begin routine care.
✅ Pros: Quickest way to get new plants, minimal risk
❌ Cons: Requires a mature Anthurium with multiple stems
(B) Propagating Anthuriums from stem cuttings
Stem cuttings are a great way to propagate Anthuriums, especially for vining or leggy plants.
Difficulty: Moderate, great for creating new plants from one
Best for: Plants with aerial roots or long stems
Time to Root: 4-6 weeks
Suitable Anthurium Varieties
- Anthurium veitchii (King Anthurium): A majestic variety with long, rippled leaves
- Anthurium vittarifolium: A rare pendant-type Anthurium with long, strap-like leaves
- Anthurium warocqueanum (Queen Anthurium): Features stunning dark green, elongated velvet leaves
Step 1: Gather your supplies
- A healthy Anthurium Plant with a strong stem
- Sharp, sterilized pruning shears or scissors
- A clean jar of water or a propagation station
- Small pots with a drainage hole
- Well-draining soil
- Rooting hormone to speeds up root development
- A plastic bag or humidity dome
Step 2: Take stem cuttings
- With a sharp, sterilized pruning scissors, take stem cuttings with at least one node and an aerial root. Cut the stem below the node as this is where new growth will come from.
- Allow the sap to dry and then dip the lower cut end of the cutting in a rooting hormone to hasten rooting.
Step 3: Choose water or soil propagation
Choose either water or soil propagation.
2. Anthuriums Propagation from Stem Cuttings in Soil
- Fill the small pot with well-draining, potting mix and make a hole in the center. Ensure that the hole is slightly wider than the base of the stem cutting.
- Insert about 1-2 inches of the lower cut end of the stem cutting in the previously made hole and lightly firm the soil around the stem cutting while taking care not to bury it too deep.
- Water the soil thoroughly. To hasten rooting of the cutting, create a mini-greenhouse by covering the set up with a clear plastic bag or humidity dome.
- Ensure the leaves of the cutting do not touch the plastic bag too much by propping it up with sticks.
- Place the set up in warm place under bright indirect light and maintain the soil moist through out until new growth emerges. New growth indicates that the cutting has rooted.
- In about 4-6 weeks, rooting of the cutting will have taken place. Gradually over a period of two weeks, remove the plastic bag cover or humidity dome to acclimatize the new plant.
- In 4-6 months, there will be adequate root development and normal Anthurium care for can begin.
✅ Pros: Great for rejuvenating leggy plants, no need for an established root system. It produces stronger roots from the beginning than water propagation.
❌ Cons: Takes longer than root division, risk of rot if overwatered
3. Anthuriums Propagation from Stem Cuttings in Water
- Submerge 2-3 inches of the cuttings in a jar of plain water or in a propagation station.
- Place the set up in a warm, well-lit spot away from direct sunlight. Change the water every 5-7 days.
- When a good amount of roots have formed on the cuttings, transfer the cuttings into individual pots in moist, quality, rooting soil.
- Position the set up in a warm, well-lit place away from direct sunlight to prevent scorching.
- Maintain the soil moist until new growth has emerged and substantial growth has been observed.
- Transfer the new plant into a pot 1 size larger than the current one while ensuring that the soil is well-drained. At this point you can begin routine care.
✅ Pros: Great for rejuvenating leggy plants, no need for an established root system. It is easier for beginners than propagating in soil.
❌ Cons: Takes longer than root division, risk of rot if overwatered
(B) Propagating Anthuriums by Air Layering
Air layering is a great method for mature Anthuriums with thick stems that may not root easily from cuttings. It is best used where roots are encouraged to grow on the stem before cutting it from the parent plant. Air layering consists of notching the stem of a healthy stem.
Difficulty: An advanced technique for difficult-to-root cuttings
Best for: Large Anthuriums with woody stems
Time to Root: 6-8 weeks
Suitable Anthurium Varieties
- Anthurium magnificum: A large-leaved species with velvety texture and prominent veins
- Anthurium forgetii: Notable for its round leaves without lobes
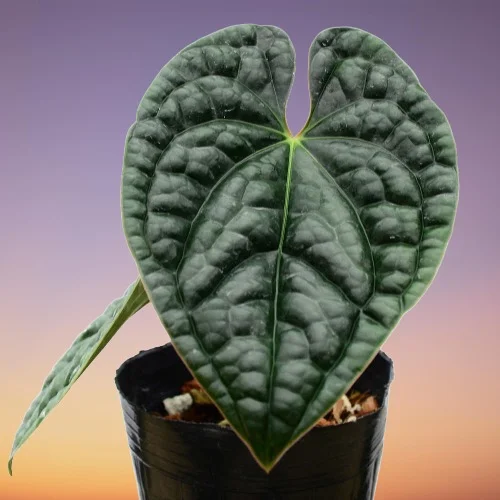
- Anthurium metallicum: Features large, velvety, dark-green almost black leaves with distinct veining and a metallic sheen
- Anthurium regale: Accents massive, heart-shaped leaves with silver veins
Gather your supplies
- A healthy, mature Anthurium Plant
- Sharp, sterilized knife
- Damp moss
- Polythene film or clear plastic wrap
- Small pots with a drainage hole
- Well-draining soil
- Rooting hormone
4. Anthuriums Propagation by Air Layering
- Select a healthy stem with an aerial root. Make a small cut just below the node and coat the notch with a rooting hormone to enhance rooting.
- Surround the notched area with damp moss and cover the notch with a polythene film or clear plastic wrap.
- Maintain the moss moist through out and allow some time for roots to develop in the notched area.
- After the roots have formed and about 2 inches long, the stem is now ready to be seperated from the mother plant.
- Sever the stem just below the covered part with a sharp cutting tool like a sterlized knife or a sterilized pair of scissors. New shoots will sprout from the shortened stem of the mother plant.
- Remove the polythene or plastic wrap and get ready to pot the rooted cutting in moist, loose, free-draining potting mix.
- Select a 6 or 8 inches pot and ensure that the pot has a drainage hole to prevent the soil from getting soggy as it can lead to rotting.
- Fill the pot with loose, well-drained soil and make a hole in the center of the pot. Make sure that the hole is slightly wider than the root base of the cutting.
- Place the rooted cutting in the previously made hole and lightly firm the soil around the base of the stem while taking care not to bury it too deep.
- Wet the soil thoroughly and place the set up in a well-lit, warm place until the new plant is well established after which you can begin routine care.
✅ Pros: Higher success rate than stem cuttings
❌ Cons: Requires patience and regular monitoring
(C) Propagating Anthuriums by Seeds
Growing Anthuriums from seeds is the most time-consuming method but is great for experimenting with new hybrids. It is often used by breeders and collectors to develop unique hybrids.
Difficulty: Difficult and slow
Best for: Rare Anthurium varieties
Time to Root: 2-6 months
Suitable Anthurium Varieties
- Anthurium crystallinum: Known for its shimmering, velvet-textured leaves
- Anthurium metallicum: Displays long, glossy, dark green foliage
- Anthurium hybrid cultivars: Many modern hybrids are grown from seeds
Gather your supplies
- Anthurium seeds
- Small pots with a drainage hole
- Peat-based soil or sphagnum moss
- A plastic bag or humidity dome
- Well-drained soil
5. Anthuriums Propagation by Seeds
- Harvest fresh seeds from a mature Anthurium flower.
- Rinse the seeds to remove any sticky residue.
- Prepare a shallow tray with moist sphagnum moss or peat-based soil.
- Spread the seeds on the surface and lightly press them down.
- Cover with a plastic dome or bag to maintain humidity.
- Place the set up in warm, bright conditions (21-270C).
- Mist regularly to keep the medium moist.
- Once seedlings appear, select a 6 or 8 inches pot and ensure that the pot has a drainage hole to prevent the soil from getting soggy.
- Fill the pot with loose, well-drained soil, moisten the soil and transplant the seedlings.
- Place the seedlings in a warm place under bright indirect light.
- Maintain the soil moist until the new plant is well established after which you can begin routine care.
✅ Pros: Can produce unique hybrids, rewarding for patient growers
❌ Cons: Very slow, requires ideal conditions for germination
Caring for Newly Propagated Anthurium Plants
Once you have propagated Anthurium Plants, proper care is essential for their optimal growth growth.
- Use a well-draining mix (peat moss, perlite, orchid bark).
- Keep in bright indirect light (avoid direct sun).
- Maintain humidity above 50%; use a wet pebble tray or a humidifier to raise humidity.
- Keep temperatures between 18-270C.
- Start fertilizing after 2 months with diluted liquid fertilizer
Frequently Asked Questions (FAQs)
1. What is the best method to propagate Anthuriums?
Plant division is the easiest and quickest method, while stem cuttings are great for plants with aerial roots.
2. How long does it take for Anthuriums to root?
- Root division: 2-3 weeks
- Stem cuttings: 4-6 weeks
- Air layering: 6-8 weeks
- Seeds: 2-6 months
3. Can you propagate Anthuriums in water?
Yes. Stem cuttings can be rooted in water, but they should be transferred to soil once the roots are 2-3 inches long.
4. Why is my Anthurium cutting not growing roots?
Your Anthurium may not be growing roots due to low humidity, insufficient warmth, or rot. Try to increase humidity and use a rooting hormone.
5. When is the best time to propagate Anthuriums?
The best time to propagate Anthuriums is during the growing season (spring and summer) as the plant is actively growing at this time.
6. Do I need a rooting hormone for Anthurium propagation?
A rooting hormone may not be necessary but it can speed up root growth, especially for stem cuttings.
You liked it? Share on social media.
Related Content

Amazon Associates Disclosure
Homeplantsguide.com is a participant in the Amazon Services LLC Associates Program, an affiliate advertising program designed to provide a means for sites to earn advertising fees by advertising and linking to amazon.com.