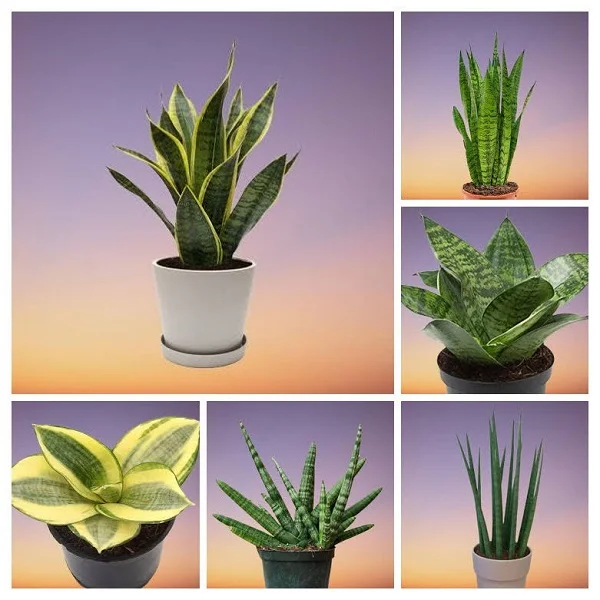
How to Propagate Dracaena Plants by 4 Easy Propagation Methods
Some links in this post may be affiliate links
Dracaena are propagated at the beginning of the growing season by air layering, from the top crown of leaves or stem cuttings which can be rooted in water or in soil.
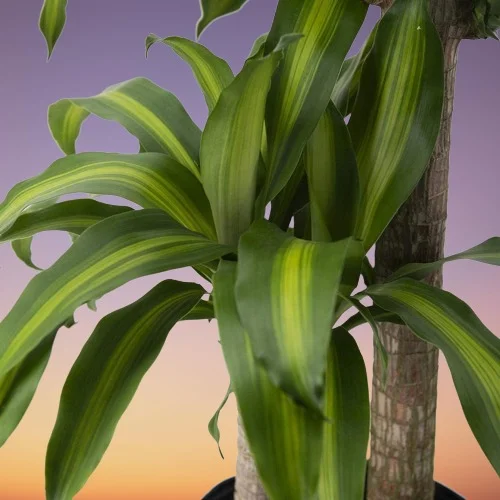
First, let us get some facts about Dracaena. Dracaena Plants can be divided into two groups; tree-like Dracaenas with a leafless woody trunk on top of which is a crown of leaves and the rhizomatous Dracaenas which have underground rhizomes and leaves above the ground.
There are about 120 species in the Dracaena genus. Recently, the hardy, Snake Plants (Sansevieria) have been added to the Dracaena group. Check out these popular Dracaena Varieties that you can grow successfully in the home or office space.
Dracaeana are known for their air cleaning properties. As indicated by the NASA Clean Air Study, Dracaeana were found to get rid of xylene, toulene, benzene, formaldehyde and trichloethylene from indoor air.
Dracaeana Plants flourish in bright indirect light (filtered light), average warmth and humidity, and moist, fertile, well-drained soil coupled with monthly feeding during the growing season.
We have below outlined 4 easy ways by which you can increase your Dracaena plants. Keep reading for more on these propagation methods.
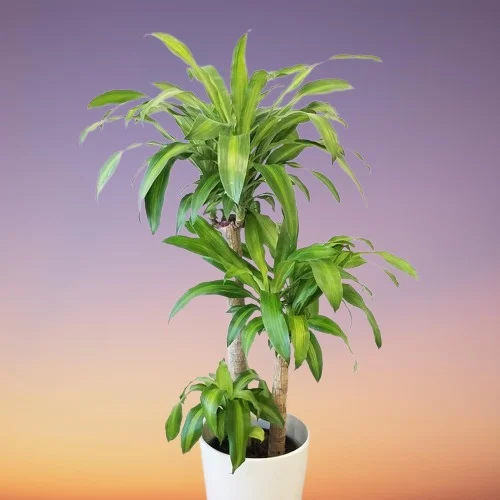
Dracaena fragrans
1. Dracaena propagation from stem cuttings in water
- Take 4-6 inches long stem cuttings from a healthy, mature plant. Ensure each cutting has some leaf nodes as this is where new growth will come from.
- Dip the lower cut end in a rooting hormone to hasten rooting.
- Place the cuttings in a jar of plain water or in a propagation station.
- When a good amount of roots have formed on the cuttings, transfer the cuttings into small pots (6-8 inches wide) in moist, well-drained, rooting soil.
- Position the set up in a warm (21-270C), well-lit place away from direct sunlight to prevent scorching.
- Maintain the soil moist until new growth has emerged and substantial growth has been observed.
- Transfer the new plant into a pot 1 size larger than the current one in well-drained soil and begin routine care.
Place the set up in a warm, well-lit spot away from direct sunlight. Change the water every 5-7 days.
2. Dracaena propagation from stem cuttings in soil
- Take 4-6 inches long stem cuttings from a healthy, mature plant and ensure each cutting has some leaf nodes as this is where new growth will emerge from.
- Dip the lower cut-end of the stem cuttings in a rooting hormone to hasten rooting.
- Select a rooting container and make sure it has adequate drainage to prevent rotting.
- Fill the container with a well-draining potting mix and make a hole in the center.
- Make sure that the hole is slightly wider than the base of the stem cutting.
- Insert about 2-3 inches of the lower cut end of the stem cutting in the previously made hole and lightly firm the soil around the stem cutting while taking care not to bury it too deep.
- Wet the soil thoroughly and cover the set up with clear polythene sheet to create a greenhouse effect to hasten rooting.
- Place the set up in a warm, well-lit place; adequate light and warmth are necessary for faster rooting.
- Maintain the soil moist until rooting occurs; rooting will occur in about 3-6 weeks.
- When you observe new growth, you can transplant the new plant into its own pot after which you can begin routine care.
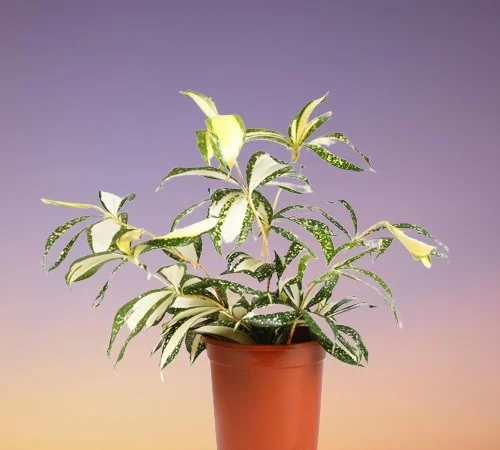
Dracaena godseffiana
3. Dracaena propagation from the top crown of leaves
- Cut the top crown of leaves bearing about 4-6 inches of the stem from a healthy plant.
- Reduce the leaves to a third to minimize water loss. The leaves are necessary for photosynthesis to hasten rooting.
- Apply a rooting hormone on the lower cut end of the stem to hasten rooting.
- Select a rooting container that has adequate drainage to prevent the soil from getting soggy to avoid rotting.
- Fill the container with a well-draining potting mix and make a hole in the center. Make sure that the hole is slightly wider than the base of the stem.
- Insert about 2-3 inches of the stem in the previously made hole and lightly firm the soil around the base of the stem while taking care not to bury it too deep.
- Water the soil thoroughly and place the set up in a warm, brightly-lit place as enough light and warmth are necessary for rooting.
- Keep the soil moist until rooting occurs; rooting will occur in about 3-6 weeks.
- Once you observe new growth, you can now transplant the new plant into its own pot after which you can begin routine care.
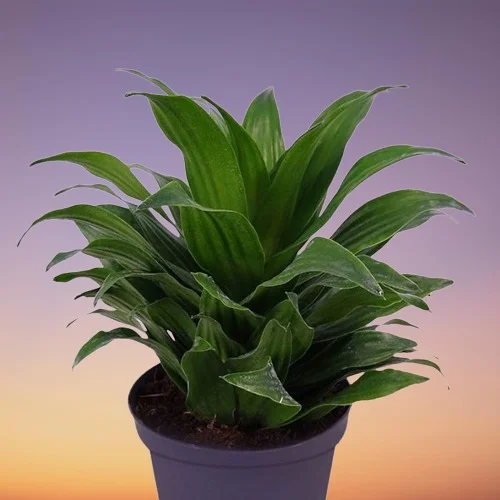
Dracaena deremensis
4. Dracaena propagation by air layering
- Make a notch on the stem of a healthy, mature plant and coat the notch with a rooting hormone to encourage rooting.
- Surround the notched area with damp moss and cover it with a polythene film or clear plastic wrap.
- Maintain the moss moist through out and allow some time for roots to develop in the notched area.
- After the roots have formed and are about 2 inches long, the stem is now ready to be seperated from the mother plant.
- Sever the stem just below the covered part with a sharp cutting tool like a sterlized knife or a sharp, clean pair of pruning scissors. New shoots will sprout from the shortened stem of the mother plant.
- Carefully remove the polythene film or plastic wrap and get ready to pot the rooted stem.
- Select a 6 or 8 inches pot that has a drainage hole to prevent the soil from getting soggy to avoid rotting.
- Fill the pot with free-draining potting mix and make a hole in the center of the pot. Ensure that the hole is slightly wider than the root base of the cutting.
- Position the rooted cutting in the previously made hole and lightly firm the soil around the base of the stem while taking care not to bury it too deep.
- Water the soil thoroughly and place the set up in a warm, well-lit place until the new plant is well established after which you can begin routine care.
You liked it? Share on social media.
Related Content
Amazon Associates Disclosure
Homeplantsguide.com is a participant in the Amazon Services LLC Associates Program, an affiliate advertising program designed to provide a means for sites to earn advertising fees by advertising and linking to amazon.com.
