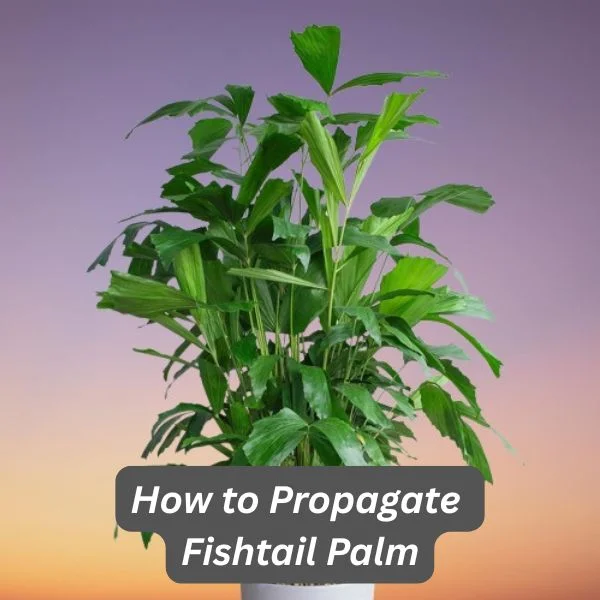
How to Propagate Fishtail Palm (Caryota mitis) in 3 Easy Ways
Some links in this post may be affiliate links
Caryota mitis also called Fishtail Palm or Clustering Fishtail Palm is among well-liked indoor palms on account of its beautiful, ragged-edged leaflets on arching fronds and clustered stems.
Fishtail Palm is easily propagated from seeds, from offshoots or by plant division. It is best propagated at the beginning of the growing season (spring to early summer) when in active growth for faster establishment. We have outlined 3 ways of Caryota mitis propagation by which you can multiply your palms.
1. How to propagate Fishtail Palm from seeds
Caryota mitis seed propagation
Seed germination is difficult and may take up to 4-6 months. It also requires that the soil be kept moist through out the period.
- Fill the rooting container with potting mix and slightly moisten the soil.
- Sow the seeds in the moist soil and cover the seeds slightly with soil. Do not bury them too deep to hasten germination.
- Cover the set up with polythene cover to create a greenhouse effect and place in a warm place at about 21-270C. Warmth and humidity are important for germination.
- Keep the soil moist through out the period until germination of the seeds takes place. Germination may take upto 4-6 weeks.
- Lower the temperature slightly after germination and maintain the soil moist until the new palms are well established after which you can begin routine care.
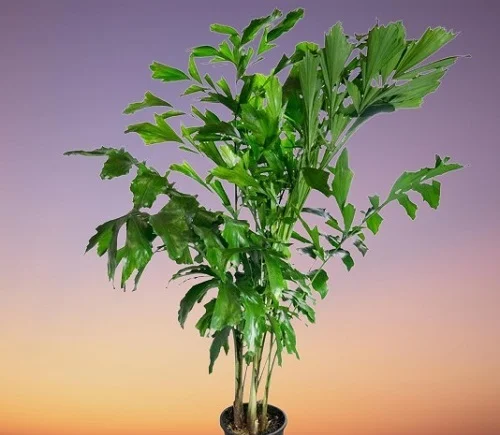
2. How to propagate Fishtail Palm from offshoots
Caryota mitis propagation from offshoots
- Water the palm thoroughly at least 1 day before to make it easier to seperate the offshoot and also hasten its establishment.
- With a sharp sterilized knife or scissors, carefully seperate the palm offshoot from the mother plant. Ensure the offshoot has adequate roots before seperating it from the mother.
- Select a 6 or 8 inches pot and ensure that the pot has a drainage hole to prevent the soil from getting soggy as it can lead to rotting.
- Fill the pot with free-draining potting mix and make a hole in the center of the pot. Ensure that the hole is slightly wider than the base of the offshoot.
- Place the offshoot in the previously made hole and lightly firm the soil around the base while taking care not to bury it too deep; maintain the offshoot at the same soil level it was in the previous pot.
- Water the soil thoroughly and place the set up in a well-lit, warm place (21-270C).
- Maintain the soil moist until the new plant is well established after which you can begin routine care.
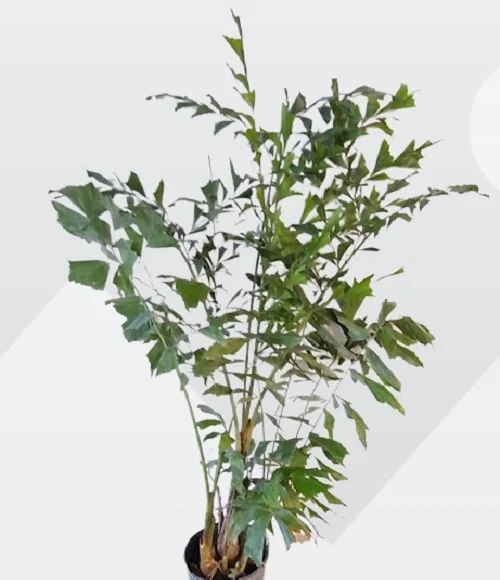
3. How to propagate Fishtail Palm by plant division
How to divide Caryota mitis
- Water the palm thoroughly at least 1 day before to make it easier to divide and also hasten establishment.
- Take out the palm from its pot and carefully divide it into sections by cutting through the rhizome with a sharp clean knife. Carefully pull apart the roots. Ensure each section has adequate roots to hasten establishment.
- Select a 6 or 8 inches pot and ensure that the pot has a drainage hole to prevent the soil from getting soggy as it can lead to rotting.
- Fill the pot with well-draining potting mix and make a hole in the center of the pot. Ensure that the hole is slightly wider than the root base of the section.
- Place the section in the previously made hole and lightly firm the soil around the base while taking care not to bury it too deep; maintain the section at the same soil level it was in the previous pot.
- Water the soil thoroughly and place the set up in a well-lit, warm (21-270C) place.
- Maintain the soil moist until the new palm is well established after which you can begin routine care.
Fishtail Palm Indoor Care
Caryota mitis grows best in bright indirect light, warmth of 16-260C, humidity of 50-55% and moderately moist, fertile, well-drained soil coupled with monthly feeding during the growing season. Learn how to grow and care for Fishtail Palm.
You liked it? Share on social media.
Related Content


Amazon Associates Disclosure
Homeplantsguide.com is a participant in the Amazon Services LLC Associates Program, an affiliate advertising program designed to provide a means for sites to earn advertising fees by advertising and linking to amazon.com.