How to Propagate Bromeliads from Pups: Bromeliad Propagation from Pups (Offsets)
Some links in this post may be affiliate links
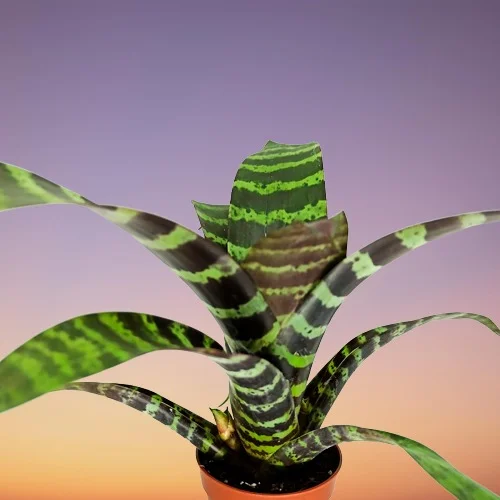
Bromeliads are easily propagated from pups (offsets) forming at the base of the plant after flowering as the mother plant begins to die.
Bromeliad propagation from pups is the easiest method of multiplication as these offsets root easily and eventually develop into new plants when given the right growing conditions.
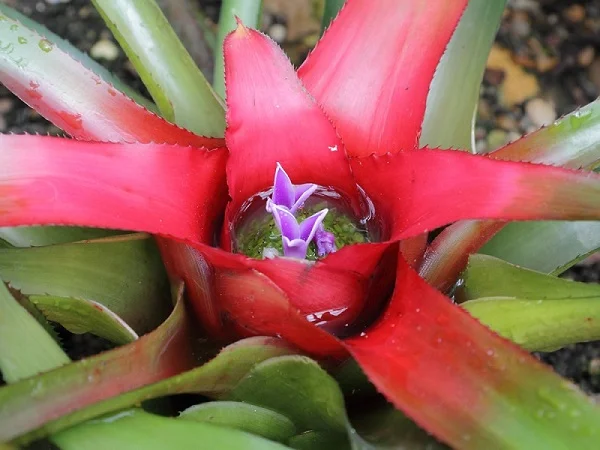
Bromeliads bear a bold flower-head which arises on a stalk from the cup-like center (vase) of the rosette of leaves. Once the flower-head fades, the rosette of leaves begins to die and is replaced by offsets (pups) at the base of the plant which are used to propagate new plants.
Bromeliads are flowering plants in the family Bromeliaceae in which are about 80 genera and 3700 species. Most Bromeliads are grown indoors and outdoors for the beauty of their foliage or for their vibrant blooms. A few Bromeliad species like the Aechmeas (Urn Plants) and Vrieseas (Flaming Sword Bromeliads) belong to both camps.
We have hebelow outlined for you the step by step Bromeliad propagation from pups. Keep reading to learn how to increase your Bromeliad stock.
How to Seperate Bromeliad Pups from the Mother Plant
When the pup (offset) is several months old or 1/3 to 1/2 the height of mother plant, separate it from the mother.
With a sharp sterilized cutting tool like a knife or a pair of scissors cut away the pup at the point where it is attached to the mother plant.
Make sure that the pup has some roots attached to it as they are necessary to provide support for the pup. However, even without any roots the pup will still grow its own roots.
How to Root a Bromeliad Pup
- Select a shallow heavy pot for rooting the pup to prevent the plant from toppling over as it has a tiny root system and it can get top-heavy .
- Use a pot with a drainage hole to prevent the soil from getting soggy as it can lead to rotting.
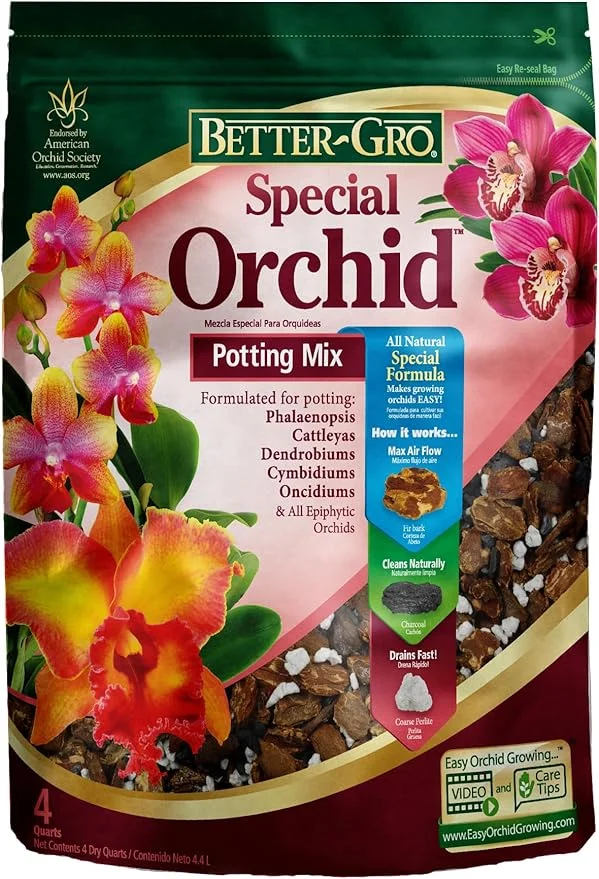
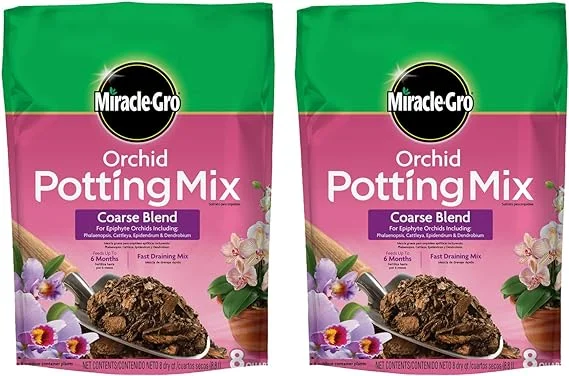
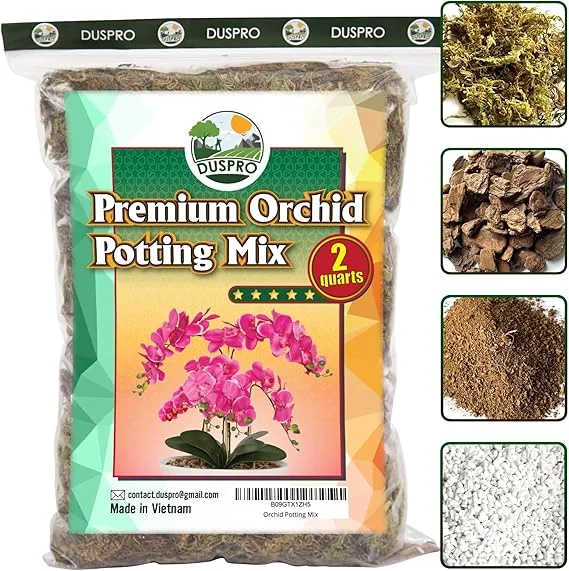
- Fill the pot with orchid potting mix and make a hole in the center of the pot with a pencil or any such tool. Ensure that the hole is slightly wider than the base of the pup.
- Place the pup shallowly in the previously made hole, and lightly firm the soil around the base of the pup, while taking care not to bury it too deep.
- Lightly water the soil and provide support for the pup to prevent it from toppling over as the root system is small. The pup may take upto 4 weeks to develop new roots.
- Position the set up in a well-lit, warm place until the new plant is well established after which you can begin routine care.
- With good care, the pup can take from 3 to 6 years to reach maturity and flowering. This will vary from species to species.
Bromeliads Routine Care
Light requirements: Bromeliads grow best in bright indirect light. Keep them away from direct sunlight to avoid scorching.
If the natural lighting is not adequate, instal a grow light to supplement it to prevent loggy growth and yellowing of leaves.
Watering Bromeliads: Bromeliads require the central 'vase' to be filled with water at all times. Empty and refill the 'vase' regularly to prevent growth of bacteria which may cause the water to become smelly.
Temperature: Most Bromeliads perform best in a warmth of 18-280C. However, to bring it to flower it will need temperatures above 260C.
Humidity: Bromeliads thrive in a humidity of 60-70%. To increase humidity, set the pot on a wet pebble tray, use a cool mist humidifier, grow the plant in a well-lit bathroom or in a terrarium.
Fertilizer: Feed Bromeliads with a bromeliads fertilizer every 2-3 weeks in spring and summer. Do not feed in fall and winter as growth is minimal at this time and it may lead to fertilizer burn.
Pruning: Pruning a Bromeliad involves removal of dead leaves to keep the plant neat and tidy. This also allows adequate room for the new plants (pups) to grow.
Bromeliads Problems Indoors
Bromeliads problems indoors are mainly brought about by humidity, lighting and watering issues. They include;
* Brown leaf tips due to too dry air (low humidity).
* Pale brown leaf patches due to exposure of the plant to hot, direct sunlight.
* Dark, soft, drooping, long leaves caused by inadequate light (too little light).
* Pests: scales and mealy bugs.
* Diseases: root-rot, leaf spot, powdery mildew, stem and crown rot.
You liked it? Share on social media.
Related Contents
Amazon Associates Disclosure
Homeplantsguide.com is a participant in the Amazon Services LLC Associates Program, an affiliate advertising program designed to provide a means for sites to earn advertising fees by advertising and linking to amazon.com.