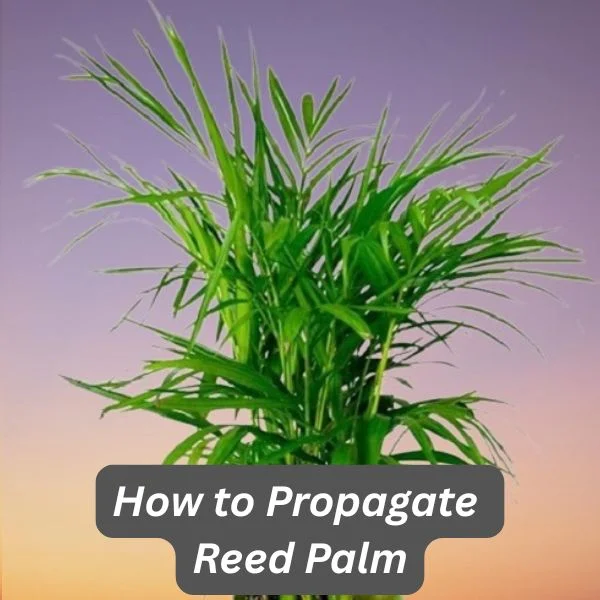
How to Propagate Reed Palm (Chamaedorea seifrizii) by 3 Methods
Some links in this post may be affiliate links
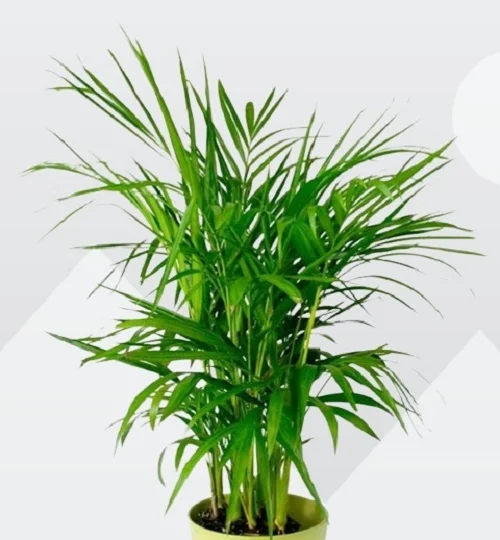
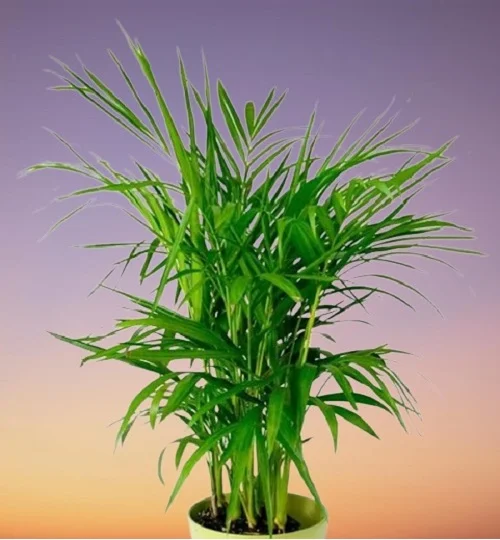
Reed Palm, also known as Clustered-parlour-palm or Cane Palm is among favored indoor palms and is known for its graceful, feathery fronds and air-purifying qualities. It belongs to a group of palms called cane palms which produce tall reed-like stems which look like bamboo canes when mature.
Unlike some houseplants, Reed Palms cannot be propagated from stem cuttings. Instead, they are best propagated through division, seeds germination or offshoots (pups). The best time to propagate is during the growing season (spring to early summer), when the plant is actively growing, to hasten establishment. Propagating in fall or winter is not advisable as the plant’s growth is minimal which makes rooting difficult. This guide will cover the best methods for propagating Reed Palms successfully.
Best Methods for Propagating Reed Palm
1. Propagating Reed Palm by Plant Division
The division method is the quickest and most reliable way to propagate Reed Palm. Since Reed Palms naturally grow in clumps, dividing an established plant allows you to create new ones easily.
Difficulty: Fastest & easiest method
Best for: Mature plants with multiple stems
Time to Root: 2-3 weeks
Gather your supplies
- A healthy, mature Reed Palm
- Sharp, sterilized knife
- Small pots with a drainage hole
- Well-draining soil
Reed Palm Propagation by Plant Division
- Water the palm a day before propagation to loosen the soil and reduce transplant shock.
- Carefully lift the plant from its container, trying to keep the root system intact. Look for separate stems with their own root system; these are ideal for division.
- Using your hands or a clean knife, carefully pull apart or cut through the root ball to create smaller sections. Each section should have at least 2-3 stems and a healthy root system.
- Prepare small pots with a well-draining soil (peat-based soil with perlite or sand) and ensure that they have a drainage hole to prevent rotting.
- Make a hole in the center of the pot. Ensure that the hole is slightly wider than the root base of the section.
- Place each divided section into its new pot and lightly firm the soil around the roots. Take care not to bury it too deep; maintain it at the same soil level as it was in the previous pot.
- Water lightly and place the new plants in bright indirect light.
- Maintain high humidity (50-60%) to encourage healthy root development.
- Once the new palms are well established, begin routine care.
✅ Pros: Quick results, high success rate
❌ Cons: Requires a mature plant with multiple stems
2. Propagating Reed Palm from Offshoots (Pups)
Sometimes, Reed Palms develop offshoots (small new plants growing at the base). These pups can be separated and planted individually.
Difficulty: Moderate
Best for: Reed Palms that produce small baby plants at the base
Time to Root: 4-6 weeks
Gather your supplies
- A healthy Reed Palm with pups
- Sharp, sterilized knife or pruning scissors
- Small pots with a drainage hole
- Well-draining soil
- Humidity tray or humidifier
Reed Palm Propagation from Offshoots
- Look for small offshoots growing at the base of the palm with visible roots.
- Use a clean, sharp knife or pair of pruning scissors to detach the pup from the main plant. Ensure the pup has some roots attached for successful growth.
- Prepare a small pot about a 6-inch container, with a well-draining potting mix.
- Position the pup in the center of the pot and cover its roots with soil. Water lightly and avoid overwatering in the first few weeks.
- Place the set up in bright indirect light. Use a humidity tray or a cool mist humidifier to promote strong growth.
- Maintain the soil moist through out until new growth emerges; new growth indicates that rooting has taken place.
- Allow the new palm to be well established before transplanting after which you can begin routine care.
✅ Pros: Produces genetically identical new plants
❌ Cons: Not all Reed Palms produce offshoots
3. Propagating Reed Palm by Seeds
If you have access to fresh Reed Palm seeds, you can grow new plants. However, seed propagation takes much longer than other methods.
Difficulty: Easy but slow
Best for: Growing new plants from scratch
Time to Root: 2-6 months
Gather your supplies
- Reed Palm seeds
- Small pots or seed tray
- A plastic wrap or humidity dome
- Well-drained soil
Reed Palm Propagation by Seeds
- Harvest seeds from a mature Reed Palm’s flowers or purchase fresh seeds. Soak the seeds in warm water for 24 hours to soften the outer shell.
- Use a shallow seed tray or small pots filled with moist, well-draining soil; a mix of peat moss and perlite works well.
- Press the seeds gently into the soil, about half inch deep. Cover with a light layer of soil and mist with water.
- Place the tray in a warm area (24-290C). Cover with a plastic dome or plastic wrap to keep moisture levels high.
- Seedlings may take 2-6 months to germinate. Keep the soil consistently moist but not soggy. Be Patient.
- Once seedlings have several leaves, transplant them into individual pots and begin normal routine care practices.
✅ Pros: Can produce many new plants at once
❌ Cons: Very slow process; requires consistent warmth and patience
Caring for Newly Propagated Reed Palms
- Light: Keep it in bright indirect light; avoid direct sunlight as it can scorch young leaves.
- Watering: Water moderately, keeping the soil moist but not soggy. Reduce watering in winter.
- Humidity: Maintain humidity levels above 50%. Mist the leaves or use a pebble tray for extra moisture.
- Fertilizer: After 2-3 months, feed with a diluted liquid palm fertilizer once a month during spring and summer.
- Repotting: Repot young plants every 2-3 years to provide fresh nutrients and space for root expansion.
Chamaoderea seifrizii Indoor Care
Chamaoderea seifrizii thrives in bright indirect light (filtered light), warmth of 15-270C, humidity of 50-55% and moderately moist, rich, well-drained soil coupled with monthly feeding during the growing season. Learn how to grow and care for Reed Palms.
Frequently Asked Questions (FAQs)
1. How often should I water my Reed Palm?
Check the soil moisture content with your fingers before watering to avoid overwatering. If the top 2-3 inches of soil feel dry, water. If wet, do not water. Do not water on a schedule.
2. Can I propagate Reed Palm from cuttings?
No, Reed Palms cannot be propagated from cuttings. You can propagate them through division, offshoots (pups) or seeds.
3. Can Reed Palm grow in low light?
Yes, Reed Palms can tolerate low light, but they thrive best in bright, indirect light.
4. Why is my Reed Palm turning yellow?
Overwatering and soggy soil are the most common causes of yellow leaves in Reed Palm. Let the soil dry slightly and ensure the pot has drainage holes.
5. How do I increase humidity for my Reed Palm?
Use a humidifier, place the plant on a wet pebble tray or group the plants together. You may also grow the plant in a well-lit bathroom, kitchen or laundry area.
6. Is Reed Palm safe for pets?
Yes, Reed Palm is non-toxic to cats and dogs, making it a pet-friendly houseplant.
You liked it? Share on social media.
Related Content


Amazon Associates Disclosure
Homeplantsguide.com is a participant in the Amazon Services LLC Associates Program, an affiliate advertising program designed to provide a means for sites to earn advertising fees by advertising and linking to amazon.com.