How to Propagate Calathea Plants by 2 Easy Methods
Some links in this post may be affiliate links
Calathea Plants are best propagated by plant division at the beginning of the growing season in spring to early summer. Dividing the plant at this time hastens establishment as it is in the active growth phase. Unfortunately, Calathea will not propagate from leaf or stem cuttings. When you note that your plant has become overcrowded in its current pot and the roots are growing through the drainage holes, it is time to divide it.
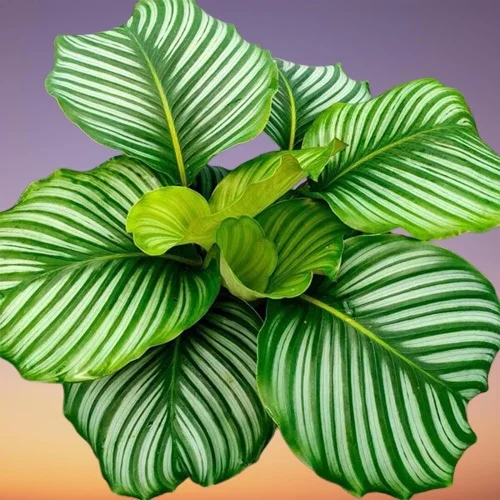
Calathea are popular plants on account of their ornately patterned leaves and their curious characteristic of raising and closing their leaves at night. Most Calathea varieties may not be easy to grow under room conditions but when given the right growing conditions, they can last for years. Calathea are easy to propagate by plant division. We have herebelow outlined for you 2 methods by which you can successfully multiply your Calathea Plants.

1. How to propagate Calathea in soil
Requirements
- Hand gloves to protect your hands
- Clean, sharp pair of scissors or knife
- 6-10 inches pots
- Well-drained, potting medium
- Clear polythene sheet or bag
- Watering can and chlorine-free water
Calathea propagation in soil
- Water the plant thoroughly one day before to make it easier to divide and also hasten establishment.
- Slip the plant out of its pot, remove excess soil, disentangle the roots and cut away any dead roots.
- With a clean, sharp pair of pruning scissors or knife, carefully divide the plant into several sections. Ensure that each section has adequate roots and at least 2-3 stems to hasten rooting.
- Select a 6 or 8 inches pot with a drainage hole to prevent the soil from getting soggy to avoid rotting.
- Fill the pot with well-drained, potting medium and make a hole in the center of the pot. Make sure the hole is slightly wider than the root base of the section.
- Place the section in the previously made hole and lightly firm the soil around the base while taking care not to bury it too deep; maintain the section at the same soil level it was in the previous pot.
- Liberally wet the soil with chlorine-free water until it comes out through the drainage holes to ensure that the soil is completely wetted.
- Cover the pots with the clear polythene sheet or bag to create a greenhouse effect and to maintain warm humid conditions which hastens establishment of the plants.
- Position the pots in a warm, well-lit place away from direct sunlight to avoid scorching.
- Maintain the soil moist until the new plants are well established.
- Once well established, over a period of two weeks, gradually remove the polythene to acclimate the new plants to ordinary growing conditions.
- Repot the new plants into a pot 1 size larger in well-drained soil and begin routine care.
2. How to propagate Calathea in water
Requirements
- Hand gloves to protect your hands
- Clean, sharp pair of scissors or knife
- Jar of plain water or a propagation station
- Clear polythene sheet or bag
- Well-drained potting Mix
- Watering can and chlorine-free water
- Small pots about 8-10 inches
Calathea propagation in water
- Water the plant thoroughly at least 1 day before to make it easier to divide and also fastens establishment; a well hydrated plant suffers less shock and takes a shorter time to take root.
- Remove the plant from its current pot, remove excess soil, thoroughly wash the roots with plenty of water, disentangle the roots and cut away any dead roots.
- With a clean, sharp pair of scissors or knife, carefully divide the plant into several sections. Ensure each section has adequate roots and at least 2-3 stems to encourage establishment.
- Place each division in a jar of chlorine-free water or in a propagation station while ensuring that the root base is well submerged but keep the foliage above the water surface.
- Cover the set up with the clear polythene sheet or bag to create a greenhouse effect and to maintain warm humid conditions to hasten establishment of the plants.
- Place the set up in a warm, well-lit spot away from direct sunlight to avoid scorching.
- Change the water every 5-7 days to keep it fresh as well as prevent fungal growth.
- When a good amount of new roots have formed on the sections, over a period of two weeks, gradually remove the polythene to acclimate the new plants to ordinary growing conditions.
- Transfer the new plants into individual pots at least 1 inch wider than the base of the rooted sections. Use a pot with a drainage hole and well-drained soil to avoid waterlogging.
- Position the set up in a warm, brightly-lit place away from direct sunlight to prevent scorching and death of the plant.
- Maintain the soil moist until the new plants are well established.
- Once well established, transplant the new plants into a pot 1 size in well-draining soil after which you can begin routine care.
You liked it? Share on social media.
Related Content


Amazon Associates Disclosure
Homeplantsguide.com is a participant in the Amazon Services LLC Associates Program, an affiliate advertising program designed to provide a means for sites to earn advertising fees by advertising and linking to amazon.com.