How to Propagate Hedera helix (English Ivy) by 4 Easy Methods
Some links in this post may be affiliate links
Hedera helix (English Ivy) is propagated at the beginning of the growing season (spring to early summer) from stem cuttings or by plant division.
The best time to propagate Hedera helix is in spring to early summer when the plant is actively growing to promote establishment. Propagating in fall and winter, may not be successful because the growth is reduced making rooting more difficult.
Hedera helix is a fast-growing, evergreen vine that makes a beautiful addition to homes and gardens. English Ivy thrives in bright indirect light, average warmth of 16-260C, moderate humidity of 50-55% and moderately moist, fertile, well-drained soils coupled with monthly feeding during the growing season. Learn more on how to grow and care for Hedera helix (English Ivy).
Whether you want to expand your collection or share it with friends, propagating English Ivy is an easy and rewarding process. In this guide, we will explore different propagation methods, tips for success, and common problems you may encounter.
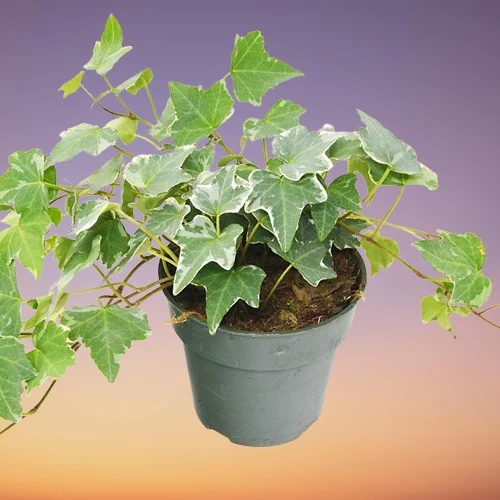
(A) How to propagate English Ivy from stem cuttings
The stem cuttings root easily so there is no need for rooting hormone. You can root cuttings in water or directly in soil, as you prefer.
Best time: Spring to early summer.
Success rate: High if provided with warm, humid conditions.
1. Propagating Hedera helix from stem cuttings in soil
- With a sharp, sterilized pruning scissors, take stem cuttings of about 4-6 inches from a healthy plant and ensure it bears at least two sets of leaves.
- Strip off the lower leaves from the cutting and retain 2 or 3 leaves on top.
- Allow the sap to dry and then dip the lower cut end of the cutting in a rooting hormone (optional) to hasten rooting.
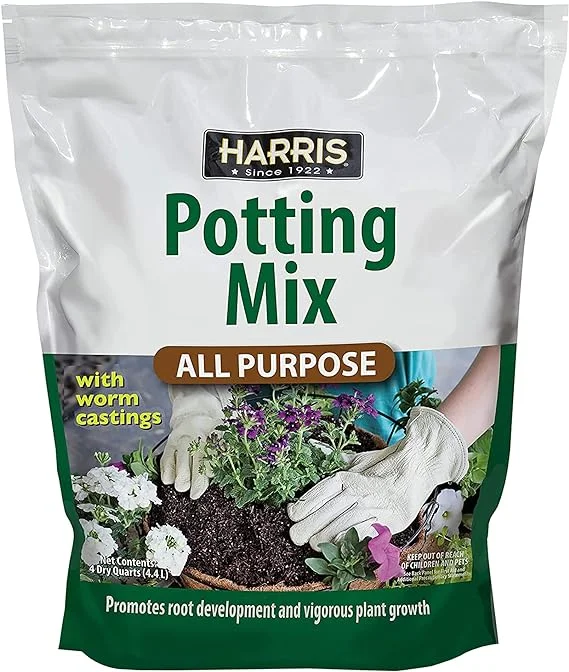
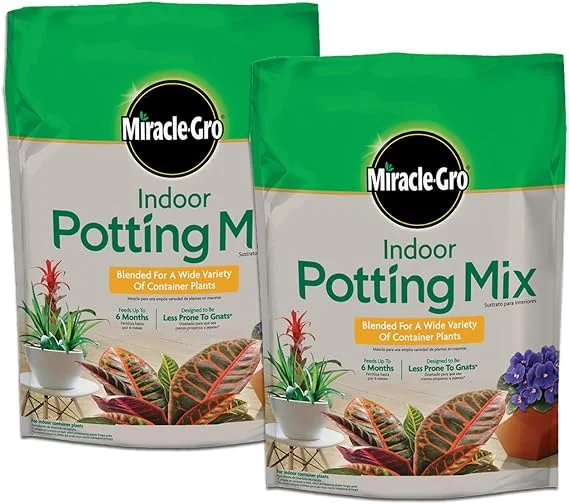
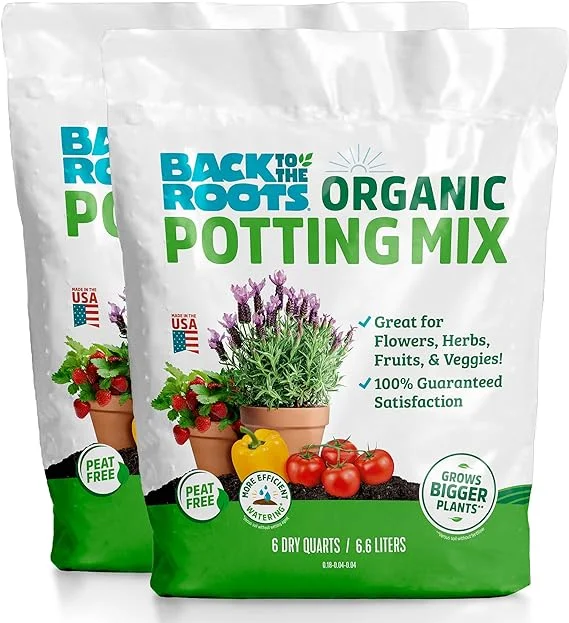
- Fill small pots (6-8 inches) with well-draining potting mix and moisten it slightly.
- Make a hole in the center of the pot. Ensure that the hole is slightly wider than the base of the cutting.
- Insert 2-3 inches of the cutting in the previously made hole and lightly firm the soil around it.
- Cover the set up with clear plastic bag or polythene sheet to create a greenhouse effect to promote rooting.
- Confirm that the leaves do not touch the bag or sheet too much by propping it up with sticks.
- Place the set up in a warm, well-lit spot away from direct sunlight.
- Maintain the soil moist until new growth emerges which indicates rooting; roots will develop in 3-4 weeks.
- Gradually over a period of two weeks, remove the clear plastic bag or polythene cover to acclimate the new plant to ordinary growing conditions.
- Allow the plants to be well established before transplanting into a pot 1 size larger in free-draining soil after which you can begin routine care.
2. Propagating Hedera helix from stem cuttings in water
- Using a sharp, sterilized pruning scissors, take stem cuttings of about 4-6 inches from a healthy plant. Confirm each cutting has at least 2 nodes as this is where new growth will come from.
- Remove the lower leaves from the cutting and retain at least 2 or 3 leaves on top.
- Allow the sap to dry and dip the lower cut end of the cutting in a rooting hormone (optional) to promote rooting.
- Place the cuttings in a jar of plain water or in a propagation station. Ensure that at least one leaf node is submerged, but keep the leaves above water.
- Position the set up in a warm spot under bright indirect light and change the water every 5-7 days to prevent bacterial growth.
- Rooting should occur in 2-3 weeks. Once the roots are about 2-3 inches long, prepare to transfer the cuttings into soil.
- Select a small pot and ensure that the pot has a drainage hole to prevent the soil from getting soggy to avoid rotting.
- Fill the pot with well-drained potting mix and moisten the soil slightly.
- Make a hole in the center of the pot. Ensure that the hole is slightly wider than the root base of the new plant.
- Place the new plant in the previously made hole and lightly firm the soil around the base while taking care not to bury it too deep.
- Position the set up in warm, well-lit spot and maintain the soil moist until the plants are well established after which you can begin routine care.
Pro tip: For a fuller plant, transfer several cuttings into one pot.
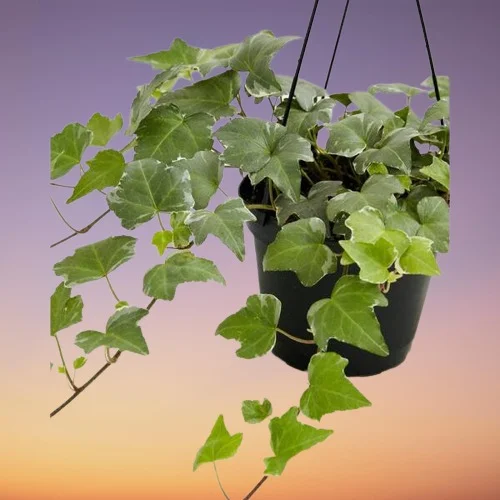
3. Propagating Hedera helix by spreading the stems on the soil
- Spread the stems on the soil surface while still attached to the mother plant. The stems will root at every point they come into contact with the soil.
- Once rooted, sever the stems and dig them up.
- Fill small pots with a free-draining soil and moisten the soil slightly.
- Make a hole in the center of the pot. Ascertain that the hole is slightly wider than the root base of the new plant.
- Place the new plant in the previously made hole and firm the soil around the base while taking care not to bury it too deep.
- Position the set up in warm, well-lit spot and maintain the soil moist until the plants are well established after which you can begin routine care.
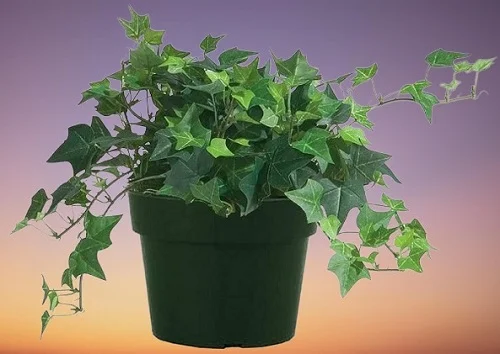
(B) How to propagate English Ivy by plant division
Hedera helix can be divided and replanted to propagate new plants.
Best time: Late spring to early summer.
Success rate: High and fast-growing.
4. Propagating Hedera helix by plant division
- Water the plant deeply at least 1 day before to make it easier to divide and also hasten establishment.
- Slip the plant out of its pot, wash or shake off excess soil and divide the plant into sections. Ensure each section has adequate roots to hasten establishment.
- Select a 6 or 8 inches pot that has a drainage hole to prevent the soil from getting soggy to avoid rotting.
- Fill the pot with free-draining potting mix and moisten it slightly.
- Make a hole in the center of the pot. Ensure that the hole is slightly wider than the root base of the section.
- Place the section in the previously made hole and lightly firm the soil around the base; maintain the plant at the same soil level it was in the previous pot.
- Water the soil thoroughly and place the set up under bright indirect in a warm place until the new plant is well established after which you can begin routine care.
Caring for newly propagated English Ivy
Light: Give it bright indirect light away from direct sunlight.
Watering : Water when the top 2-3 inches dry out.
Temperature: Keep temperatures between 16-260C.
Humidity: Maintain humidity at 50-55%.
Feeding: Feed with a balanced liquid fertilizer monthly in spring and summer.
Potting: Pot it in well-draining soil and a pot with a drainage hole.
Pruning: Regularly pinch off the growing tips for a bushy growth.
Pests and Diseases: Inspect the plant regularly and carry out timely preventive measures.
Conclusion
Propagating Hedera helix (English Ivy) is an easy and rewarding process, whichever method of propagation you choose. With the right cutting, proper light, and good care, you will have new plants growing in no time.
Frequently Asked Questions
1. Can I propagate Hedera helix from a single leaf?
No, Hedera helix can only be propagated from stem cuttings or by plant division.
2. Can I propagate English Ivy in winter?
Yes, but growth will be slower due to dormancy. Propagation is faster in spring and summer.
3. How long does it take for English Ivy cuttings to root?
In soil: 3-4 weeks.
In water: 2-3 weeks
4. Is it better to propagate English Ivy in water or soil?
Both methods work well, but soil propagation often results in stronger roots.
5. Why are my English Ivy not growing?
Your English Ivy cuttings are not growing due to insufficient light, overwatering, underwatering, low humidity, or lack of warmth.
You liked it? Share on social media.
Related Content
Amazon Associates Disclosure
Homeplantsguide.com is a participant in the Amazon Services LLC Associates Program, an affiliate advertising program designed to provide a means for sites to earn advertising fees by advertising and linking to amazon.com.
