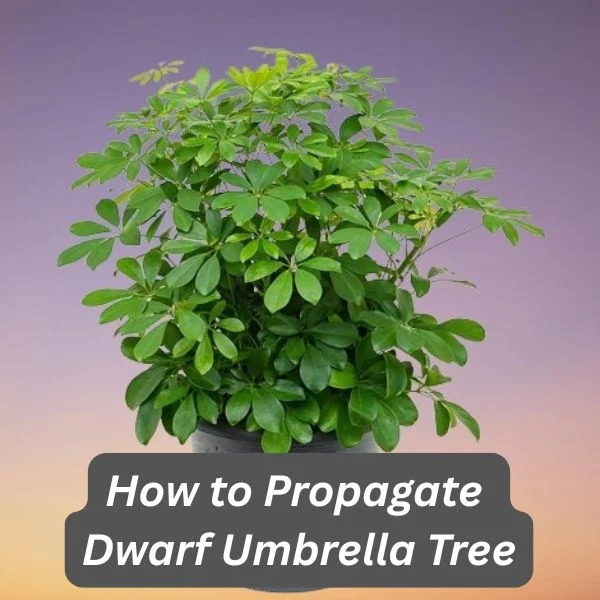
How to Propagate Dwarf Umbrella Tree (Schefflera arboricola) in 3 Easy Ways
Some links in this post may be affiliate links
Dwarf Umbrella Tree (Schefflera arboricola) is propagated from stem cuttings or by air layering, at beginning of the growing season in spring to early summer, when the plant is actively growing for faster establishment. The cuttings require a rooting hormone to enhance root growth. They can be rooted either in water or in soil.
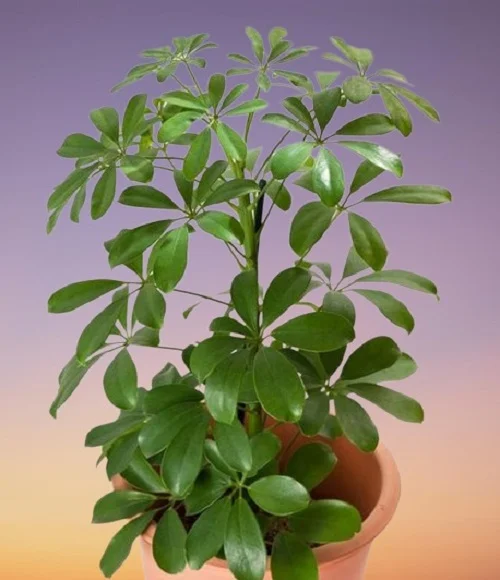
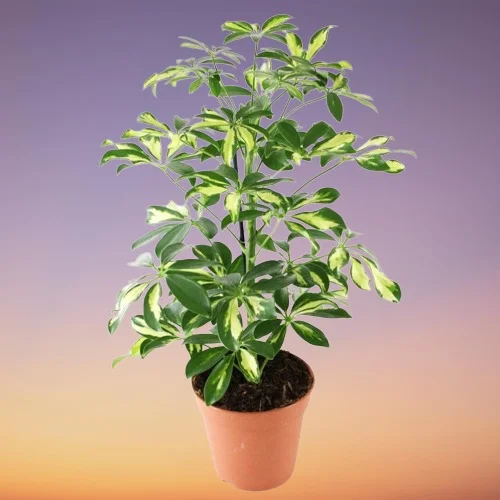
Schefflera arboricola also called Hawaiian Schefflera or Dwarf Schefflera is a hardy plant, which will tolerate some level of neglect and easily adapt to a wide range of growing conditions.
Dwarf Umbrella Tree propagation is easy. We have herebelow outlined 3 methods of propagation. Keep reading for more on how to propagate Dwarf Umbrella Tree successfully.
1. Propagating Dwarf Umbrella Tree from stem cuttings in water
- Take a 6 inches stem cutting from a healthy plant. Ensure it has several leaf nodes as this is where new growth will originate from.
- Strip off the lower leaves and dip the lower cut end in a rooting hormone to promote rooting.
- Place the cuttings in a jar of plain water or in a propagation station. Change the water every 5-7 days.
- Position the set up in a warm, well-lit spot away from direct sunlight.
- When the roots are about 3-4 inches, transfer the cuttings into individual pots in moist, well-drained soil.
- Put the set up in a warm, well-lit place away from direct sunlight to prevent scorching.
- Keep the soil moist until new growth has emerged and substantial growth has been observed.
- Once well established, transfer the new plant into a pot 1 size larger than the current one, in well-draining soil after which you can begin routine care.
2. Propagating Dwarf Umbrella Tree from stem cuttings in soil
- Take 6 inches stem cutting from a healthy plant and ensure it has several leaf nodes as this is where new growth will come from.
- Strip off the lower leaves and dip the lower cut end in a rooting hormone to hasten rooting.
- Insert about 2 inches of the lower cut end of the cutting into moist, quality, rooting soil.
- Cover the set up with polythene to create a greenhouse effect to increase warmth and humidity to enhance rooting.
- Place the set up in a warm, well-lit place away from direct sunlight.
- Maintain the soil moist until new growth emerges; new growth indicates rooting has taken place. Rooting should take about 3-4 weeks.
- Acclimate the new plant to normal growing conditions by opening the polythene cover a little bit everyday over a period of two weeks. During this period, keep the soil barely moist.
- At the end of the two weeks, water moderately, apply a balanced, liquid fertilizer monthly until a fine network of roots appear on the soil surface.
- The new plant should by this time have developed 2-3 new leaves. From this point, the plant is ready for repotting after which you can begin normal routine care.
3. Propagating Dwarf Umbrella Tree by air layering
- Make a notch on the stem of a healthy plant and coat the notch with a rooting hormone to encourage rooting.
- Surround the notched area with damp moss and then cover it with a polythene film or clear plastic wrap.
- Keep the moss moist through out and allow some time for roots to develop in the notched area.
- After the roots have formed and are about 2-3 inches long, the stem is now ready to be seperated from the mother plant.
- Sever the stem just below the covered part with a sharp, sterilized pair of pruning shears; new shoots will sprout from the shortened stem of the mother plant.
- Carefully remove the polythene and get ready to pot the rooted stem.
- Select a 6 or 8 inches pot and ensure that the pot has a drainage hole to prevent the soil from getting soggy to avoid rotting.
- Fill the pot with a free-draining soil and make a hole in the center of the pot. Ensure that the hole is slightly wider than the base of the cutting.
- Place the rooted cutting in the previously made hole and lightly firm the soil around the base of the stem while taking care not to bury it too deep.
- Wet the soil thoroughly and place the set up in a well-lit, warm place until the new plant is well established after which you can begin routine care.
Dwarf Umbrella Tree Indoor Care
Dwarf Umbrella Tree thrives in medium to bright indirect light, warmth of 16-280C, humidity of 50-55% and moderately moist, rich, well-drained soil coupled with monthly feeding during the growing season. Learn how to grow and care for Schefflera arboricola.
You liked it? Share on social media.
Related Content
Amazon Associates Disclosure
Homeplantsguide.com is a participant in the Amazon Services LLC Associates Program, an affiliate advertising program designed to provide a means for sites to earn advertising fees by advertising and linking to amazon.com.